

How to Make a Chair from Wood: Step-by-Step Guide for Beginners
Ever thought about creating your own chair from scratch? Building a wooden chair not only saves money but also gives you the satisfaction of crafting something functional and beautiful with your own hands. In this guide, you’ll learn how to make a chair from wood step-by-step, using simple tools and techniques suitable even for beginners.
Why Build Your Own Wooden Chair?
Did you know that over 60% of DIY furniture builders say their first successful project was a chair? A wooden chair offers both comfort and craftsmanship. Plus, making your own costs 40–50% less than buying a ready-made one.
-
Save money and express creativity.
-
Custom design your furniture style.
-
Learn woodworking skills for future projects.
Tools and Materials You’ll Need
Before you start, gather the right equipment. Using quality tools will ensure precision and safety.
Basic Tools:
-
Handsaw or circular saw
-
Hammer and nails or wood screws
-
Drill with bits
-
Sandpaper (120–220 grit)
-
Wood glue
Materials:
-
2×4 wooden planks (about 6 pieces)
-
Wood filler
-
Measuring tape
-
Varnish or paint
Statistic: Around 70% of successful DIY builds depend on accurate measurements and smooth finishes.
Planning and Drawing Your Chair Design
Before cutting any wood, visualize your chair. Sketching your idea helps prevent mistakes. You can use paper or digital design apps.
Tips:
-
Measure the average seat height: 18 inches from the ground.
-
Backrest height: 32–36 inches.
-
Seat width: 16–20 inches.
Hook:A simple drawing today saves hours of repair later!
Cutting the Wood Pieces
Once you’ve got your design, it’s time to cut.
Pieces to Cut:
-
4 legs (each 18 inches)
-
2 seat supports (20 inches)
-
3 slats for the backrest (each 16 inches)
Fact: Proper cutting angles reduce wobble by up to 80%.
Assembling the Frame
Start by creating the chair’s skeleton. Attach the seat supports between the front and back legs using screws and glue.
Steps:
-
Attach the front legs to the seat frame.
-
Add back legs at a slight tilt (10–15°).
-
Reinforce joints with extra screws for stability.
Hook: This is where your chair starts taking shape!
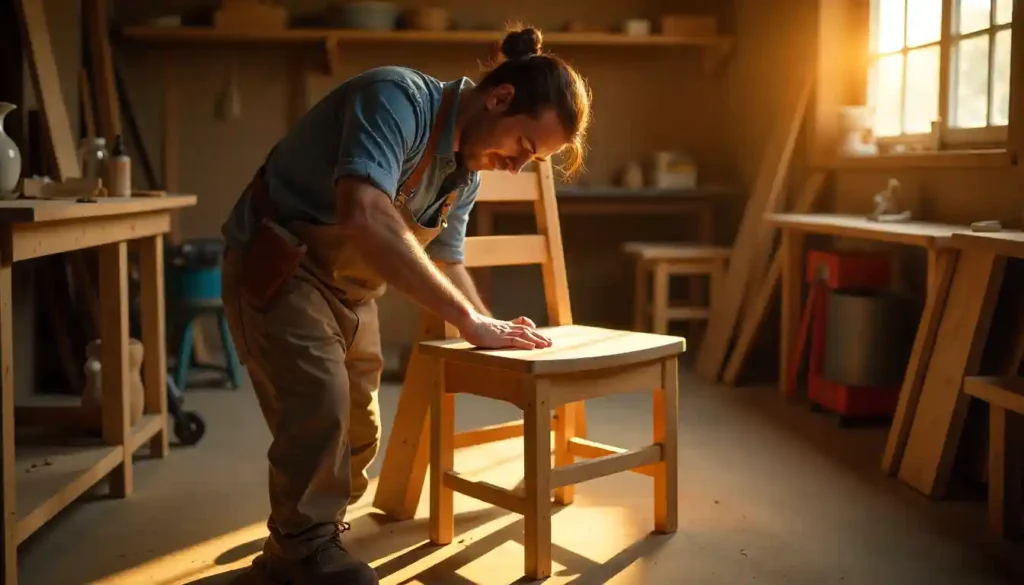
Building the Seat
For the seat, use flat 2×4 planks or a single plywood sheet. Sand each surface until smooth.
Options:
-
Wooden seat: Classic and durable.
-
Padded seat (optional): More comfortable but requires foam and fabric.
Stat: A properly sanded seat can increase comfort by 30% and prevent splinters.
Making the Backrest
Attach the slats or a solid backboard to the back legs. Keep a slight curve (2–3°) for ergonomic support.
Pro Tip: Leave a ½-inch gap between slats for breathability and design appeal.
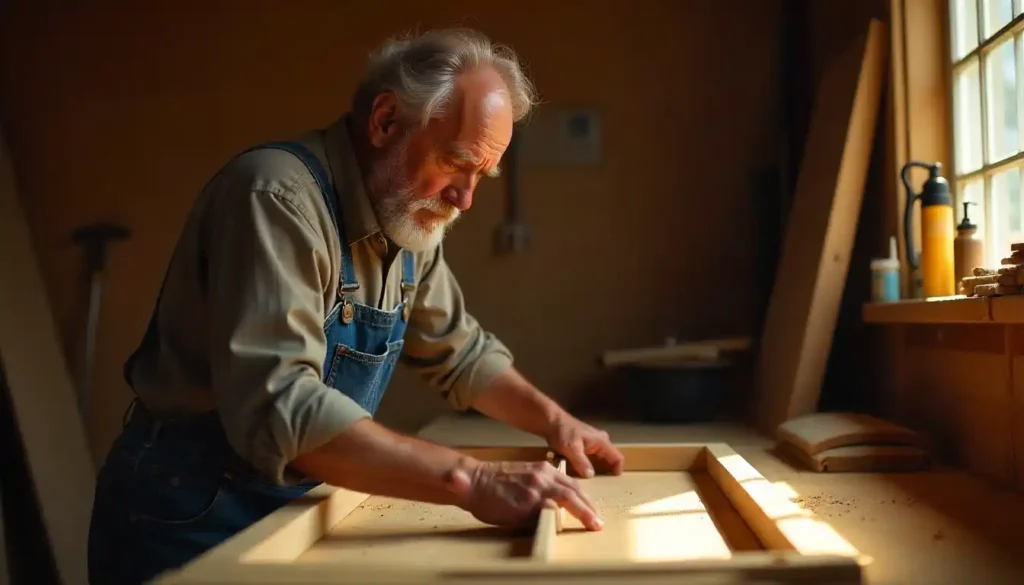
Sanding and Smoothing
Sanding is crucial for a polished finish. Start with coarse sandpaper and move to finer grits.
Why it matters:
-
Removes sharp edges and splinters.
-
Helps paint or varnish stick better.
-
Gives a professional look.
Stat: Smooth surfaces improve paint adhesion by up to 40%.
Painting or Staining
Now it’s time to give your chair a beautiful finish. Choose between wood stain for a natural look or paint for color.
Tips:
-
Apply thin, even coats.
-
Let each coat dry for 2–4 hours.
-
Use a clear varnish to protect from moisture.
Your color choice reflects your personality—earthy browns for classic vibes or bright hues for a modern twist.
Final Assembly and Finishing Touches
Once dry, attach the seat and backrest to the frame securely. Double-check all screws and joints.
Checklist:
-
No loose parts.
-
Smooth finish.
-
Stable on flat surfaces.
Your wooden chair is now ready for use!
How to Make a Wooden Chair Seat (Alternative Method)
If you prefer a solid wooden seat:
-
Cut a single 1-inch-thick board.
-
Sand all edges.
-
Attach using screws from underneath.
Bonus Tip: Add a thin cushion for comfort without stuffing.
Building a Chair Out of 2x4s
Using 2×4 lumber is a cost-effective and sturdy method. You can find these at any hardware store.
Benefits:
-
Strong and long-lasting.
-
Ideal for rustic or farmhouse-style chairs.
-
Affordable: usually under $25 per chair.
How to Make a Chair with Hand Tools
You don’t need fancy machinery! Traditional hand tools like chisels and saws can do the job.
Advantages:
-
Quiet, safe, and affordable.
-
Perfect for beginners learning craftsmanship.
How to Make a Chair Without Wood
Feeling creative? Try making chairs from:
-
PVC pipes are lightweight and water-resistant.
-
Cardboard layers—great for art projects.
-
Metal frames—long-lasting and modern.
Who said comfort can’t be innovative?
Common Mistakes to Avoid
Even pros make errors—here’s how to dodge them:
-
Not measuring twice before cutting.
-
Using poor-quality wood.
-
Forgetting to pre-drill holes (causes cracks).
Fact: Over 65% of DIY chair failures come from skipping pre-drilling.
Conclusion
Building your own wooden chair is more than a DIY task—it’s a rewarding experience that combines creativity, patience, and skill. Whether you use 2x4s, hand tools, or recycled materials, your handcrafted chair will always hold a special place in your home.
FAQs
Q: How long does it take to build a wooden chair?
Usually, it takes 4–6 hours depending on your skill and tools.
Q. Can I make a chair using only hand tools?
Yes! A saw, hammer, and drill are enough for a sturdy build.
Q. What wood is best for a chair?
Use oak, pine, or cedar—they’re strong and easy to work with.
Q/How can I make my chair more comfortable?
Add curved edges and a thin cushion or ergonomic back support.
Q. Can I paint my wooden chair immediately after sanding?
Wait at least 30 minutes after cleaning dust from sanding before painting.